
Here you will find guidelines for creating Projected Images (PIs) for competitions.
Summary:
Maximum Dimensions: 1600 pixels wide x 1200 pixels high.
Colourspace: sRGB.
File type: JPEG.
It is assumed that you are using Adobe Photoshop, Photoshop Elements, Lightroom or similar software. Full details for submitting your images are included in the Competition Rules.
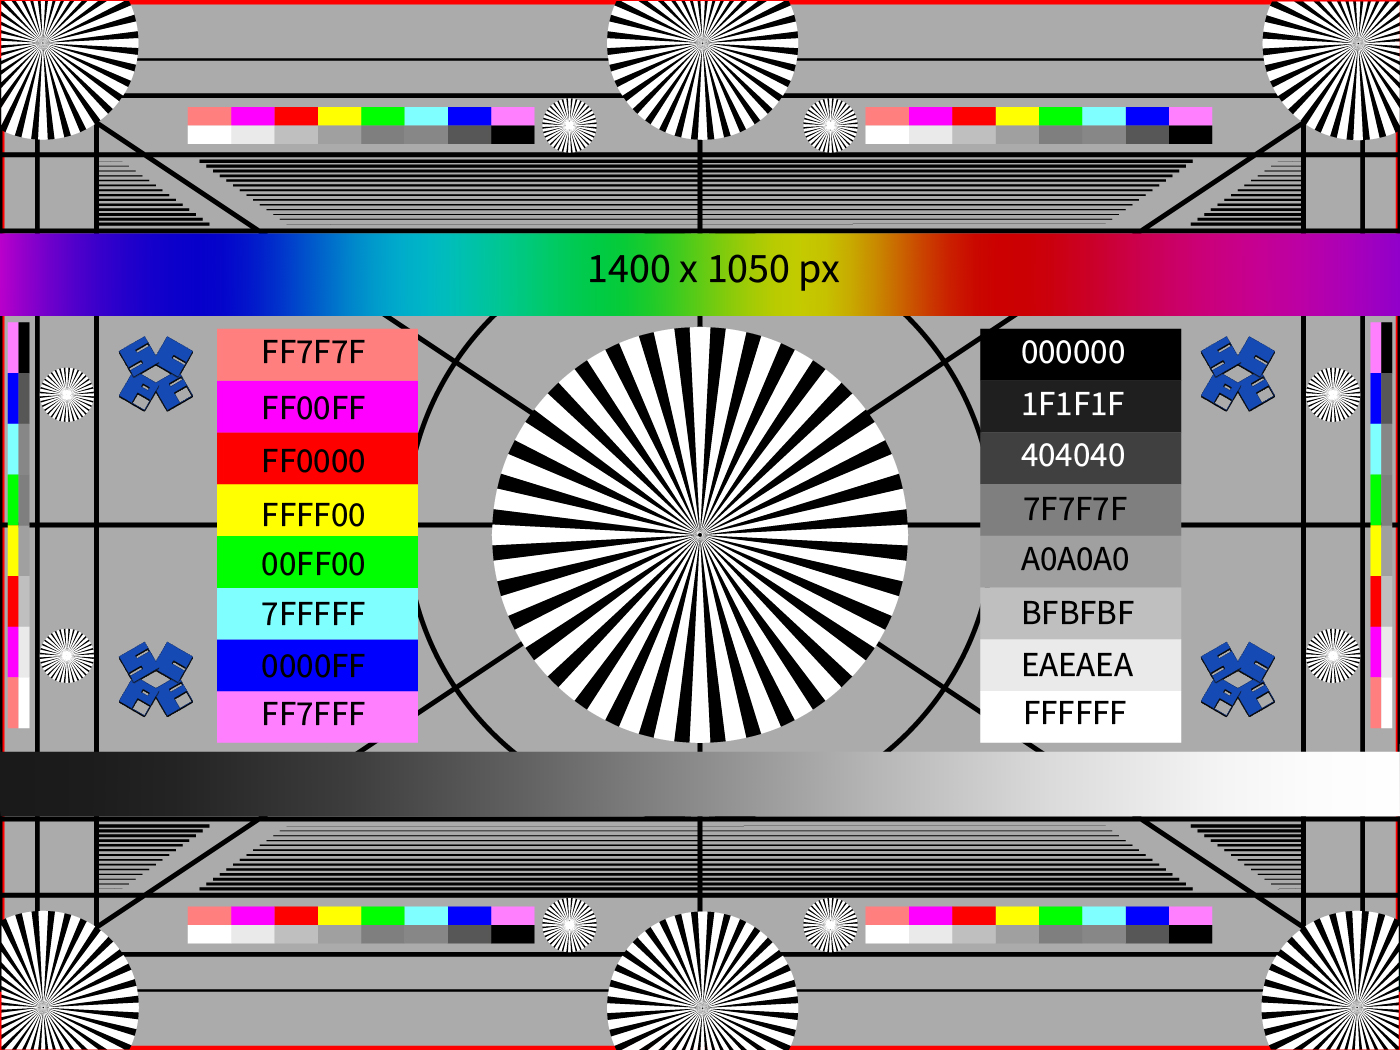
Make sure your monitor is showing correct colours and tones, otherwise your images are unlikely to look right when viewed elsewhere or printed. Consider calibrating your monitor and using test charts to get this right. A copy of the Calibration image can be found here
1. Select
It may seem obvious, but you need to start with a good competition picture. Does your image show creativity? Does it show or provoke emotion? Is there good composition, lighting, tonal range and form or colours? Ignore any personal or sentimental reasons when choosing an image for competitions.
2.Enhance
Crop, clone, heal, dodge, burn, convert to monochrome, and otherwise embellish your image to create your masterpiece.
Using Photoshop
If you know how to, change the colour mode to sRGB and set the Mode to 8-bit. Save a copy of your work.
 |
To change the profile of an existing image, in Photoshop, select the edit menu, then select the Convert to Profile. |
 |
The Source Space shows the current profile for the image.
In the Destination Space, from the Drop Down List, select the sRGB profile. |
Using Photoshop
Images should be resized to a maximum of 1600 pixels wide and 1200 pixels high. Select the ‘Image Resize‘ option. Make sure that the ‘Constrain Proportions‘ and ‘Resample‘ boxes are ticked. Enter 1600 pixels as the width. If the height is then shown as greater than 1200 pixels change the height to 1200 pixels, e.g. if you have a square image, then the height should be set to 1200, which will produce an image 1200 pixels square.
Press OK.
 |
3. Size The image does not have to be exactly 1600 by 1200 pixels, just that it must not exceed those dimensions; it doesn’t have to be to scale. So you could have an image 1600 x 1000 pixels, or 1500 x 1200 for example. You don’t need to fill the edges with black. |
You may choose to ignore this step, but your image will not look at its best and cannot be chosen for competitions against other clubs.
Using Lightroom
Resizing is done at Export.
4. Sharpen
Using Photoshop
After all other edits have been made, apply sharpening using ‘Unsharp Mask‘ or ‘Smart Sharpen‘ or any other technique you prefer. A starting point for settings in Photoshop is a radius of 0.5 pixels and an amount of 80%.
Using Lightroom
Use the Develop, Detail section, but final sharpening is done at Export.
5. Save
Using Photoshop
To save the file in JPEG format select File, Save As, select JPEG from the File format drop-down and rename the file as shown below. Press Save and when it asks for JPEG options Quality must be set to maximum: 12.
Using Lightroom
Use the Export option. Select the Export Location where you want to save the file. In File Settings select Image Format: JPEG, Quality: 100, Colourspace: sRGB, do not limit the file size. In ImageSizing select ResizetoFit: Width & Height, W: 1600, H: 1200 pixels. In Output Sharpening select Sharpen For: Screen, Amount: Standard (but adjust to taste). Do not use a watermark. Press Export.
6. Submit
Upload your image(s) to: Photoentry before midnight on the Tuesday preceding the competition at the latest. If you experience problems or need assistance contact the Competition Secretary so that any problems can be rectified in good time.